Precision In The Heat: Measuring Jet Engine Turbine Blades With Zygo's 3D Optical Profilers

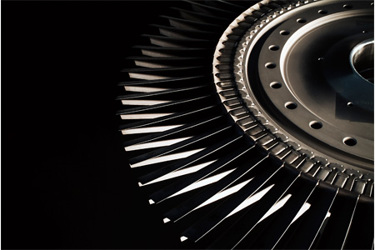
Jet engines demand precision under extreme conditions, with turbine blades operating at temperatures above 3000°F while generating thrust and maintaining structural integrity. Traditional inspection methods, often contact-based, can be slow, error-prone, and risk damaging these critical components. Accuracy, repeatability, and speed are essential for aerospace safety and performance.
Zygo’s 3D Optical Profilers provide a non-contact solution using Coherence Scanning Interferometry (CSI). This technology captures full-field, nanometer-precision measurements of turbine blade surfaces in seconds, recording millions of data points for 2D shape, thickness, surface roughness, cooling hole positions, cracks, and wear analysis. CSI supports a wide range of materials and surface conditions—from smooth to rough, flat to curved, transparent to opaque—making it ideal for inspecting single crystal superalloy blades.
Advanced features such as SureScan™, SmartSetup™, and QPSI™ Technologies ensure stability and repeatability even in production environments with vibration or airflow. Instruments like NewView™, Nexview™ NX2, Nexview™ 650, ZeGage™, and ZeGage™ Pro HR deliver high-density data quickly, enabling manufacturers to identify defects early, validate designs, and maintain compliance with aerospace standards.
For turbine blade manufacturers, Zygo’s CSI profilers go beyond measurement—they are a quality assurance enabler. By providing fast, accurate, and non-contact inspection, these instruments help maintain the performance and safety of jet engines, supporting efficient production, maintenance, and operational reliability in one of the most demanding industries.
Get unlimited access to:
Enter your credentials below to log in. Not yet a member of Photonics Online? Subscribe today.
